
Corn Sugar (Dextrose) priming sugar for beer brewing 4 Pounds
- Use for priming sugar when bottle conditioning beers
Visible yeast sediment at the bottom of a homebrewed bottle can affect both the beer's clarity and taste. Achieving a crystal-clear bottle-conditioned beer requires careful technique and attention to detail. This guide provides a step by step process to significantly reduce sediment, resulting in a cleaner, more professional-looking final product. Bottle conditioning allows brewers to naturally carbonate their beer without specialized CO2 tanks or kegging equipment. It is a cost effective and traditional method, but it does leave a small amount of yeast behind. The goal is to minimize this yeast layer, making the beer enjoyable to the last drop.
Understanding Sediment in Bottle-Conditioned Beer
Bottle conditioning relies on active yeast to consume a small amount of added sugar within the sealed bottle. This process produces carbon dioxide, which dissolves into the beer, creating carbonation. As the yeast performs its work, it eventually settles to the bottom of the bottle. This settled yeast is the sediment. While harmless and even beneficial for some beer styles, excessive or loose sediment is undesirable for many brewers and drinkers.
Several factors contribute to the amount and density of this sediment. These include the yeast strain used, the clarity of the beer before bottling, the amount of priming sugar, and the handling of the bottles during conditioning and serving. By controlling these variables, you can achieve a much clearer beer.
Essential Tools and Materials
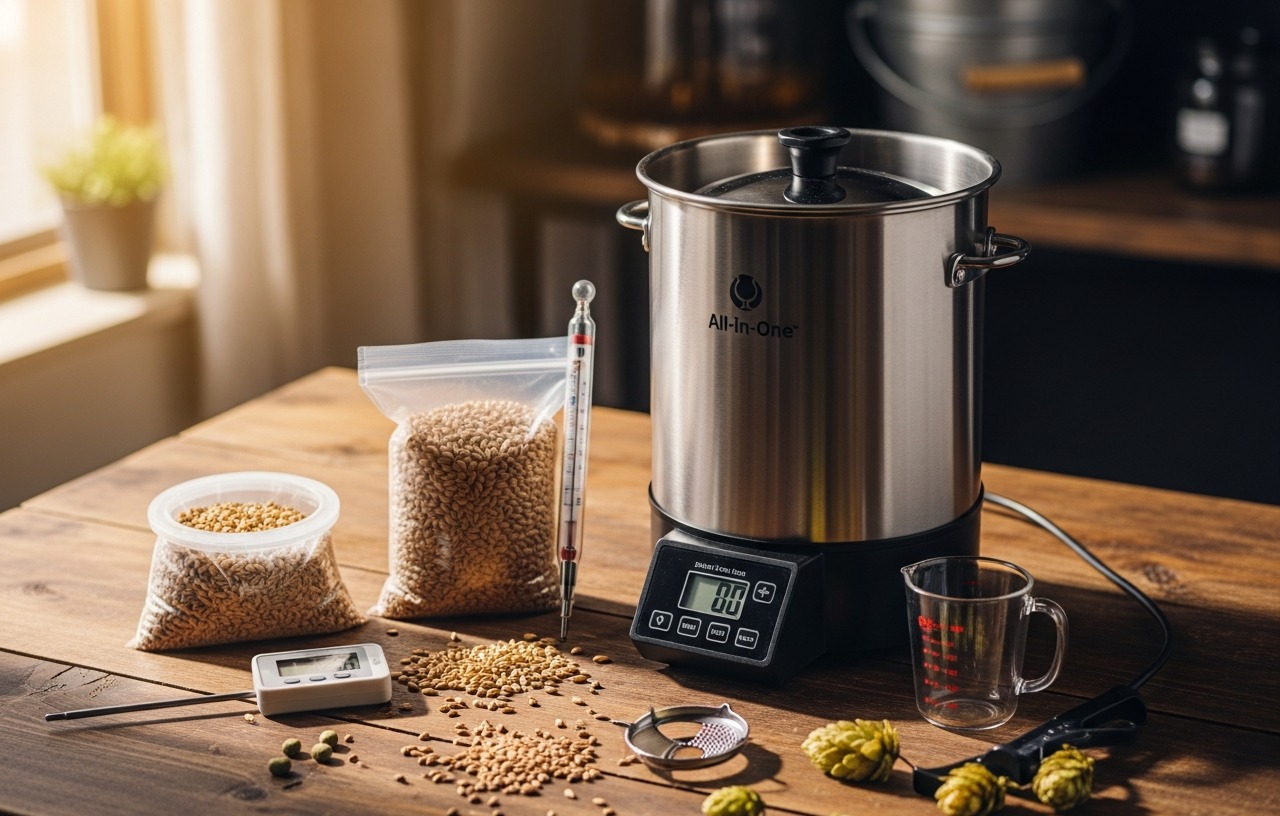
Gathering all necessary equipment before starting will make the bottling process smoother and more efficient. Expect to spend 2-3 hours on the bottling process itself, not including the conditioning time.
- Bottling Bucket with Spigot: A clean, sanitized bucket for mixing beer and priming sugar.
- Auto-Siphon or Racking Cane: For transferring beer gently.
- Sanitized Bottles: Approximately 53 12-ounce bottles for a 5-gallon batch.
- Bottle Filler (Bottling Wand): Essential for filling bottles from the bottom up.
- Bottle Capper and Caps: For sealing bottles securely.
- Priming Sugar: Corn Sugar (Dextrose) priming sugar for beer brewing 4 Pounds is an excellent choice for consistent carbonation and clean flavors.
- Measuring Cup and Scale: For precise sugar measurement.
- Small Saucepan: For dissolving priming sugar.
- Sanitizer: For all brewing equipment. For effective sanitation, refer to our guide on How to Sanitize Brewing Equipment for Beer.
- Thermometer: To check beer temperature for priming sugar calculations.
step by step Guide to Sediment-Free Bottle Conditioning
Step 1: Complete Primary Fermentation and Cold Crash Your Beer
The first step towards clear beer happens before bottling. Make sure your primary fermentation is fully complete. This means the yeast has consumed all fermentable sugars and gravity readings are stable over several days. A common mistake is bottling too early, leading to over-carbonation or excessive sediment from still-active yeast.
Cold crashing is a highly effective technique for dropping yeast and other particulate matter out of suspension. After fermentation finishes, reduce the beer's temperature to 35-40°F (1-4°C) for 2-3 days. This causes yeast cells to flocculate and settle to the bottom of your fermentation vessel. The colder temperature makes the yeast less active and more prone to settling. For optimal temperature control during this phase, consider using a fermentation temperature controller.
Step 2: Clean and Sanitize All Bottling Equipment
Sanitation is non-negotiable in brewing. Any contamination can ruin your batch. Clean all bottles, caps, bottling bucket, auto-siphon, tubing, and bottling wand thoroughly. Then, sanitize them using a no-rinse sanitizer. Allow everything to air dry completely or drain upside down to avoid introducing water into your beer. This step prevents off-flavors and ensures a stable, enjoyable beer.
Step 3: Calculate and Prepare Your Priming Sugar Solution
Accurate priming sugar calculation is vital for correct carbonation and minimizing excess yeast activity. The amount of sugar needed depends on your beer style, desired carbonation level, and the highest temperature your beer reached during fermentation. Use an online priming sugar calculator to determine the precise amount. For a typical ale, this might be around 3.5-4.5 ounces of dextrose for a 5-gallon batch.
To prepare the solution, dissolve the calculated amount of Corn Sugar (Dextrose) priming sugar in about two cups of boiling water in a small saucepan. Stir until fully dissolved. Boil for 5-10 minutes to sterilize the solution. Let it cool slightly before adding it to your bottling bucket.
Step 4: Gently Rack Beer to the Bottling Bucket
This is a critical step for sediment control. Carefully transfer your beer from the fermentation vessel to the sanitized bottling bucket. Place the fermentation vessel on a higher surface than the bottling bucket. Insert the auto-siphon or racking cane into the fermentation vessel, making sure the tip remains above the settled yeast bed. You want to leave as much yeast behind as possible.
Start the siphon and let the beer flow gently into the bottling bucket. Avoid splashing, as this introduces oxygen, which can cause oxidation and off-flavors in your finished beer. The goal is a slow, steady transfer, leaving a significant portion of the primary yeast cake behind. For brewers considering alternatives to bottling, kegging offers a sediment-free serving solution.
Step 5: Add Priming Solution and Mix
Once about half of your beer has transferred into the bottling bucket, pour in the cooled priming sugar solution. The incoming beer will help gently mix the sugar solution throughout the batch. Continue racking the remaining beer. After all the beer is in the bottling bucket, gently stir the mixture with a sanitized spoon. Avoid vigorous stirring, which can aerate the beer and disturb any settled yeast that made it into the bottling bucket.
A gentle, thorough stir ensures the priming sugar is evenly distributed. This leads to consistent carbonation across all your bottles. Uneven distribution can result in some bottles being flat and others over-carbonated.
Step 6: Bottle the Beer Using a Bottling Wand
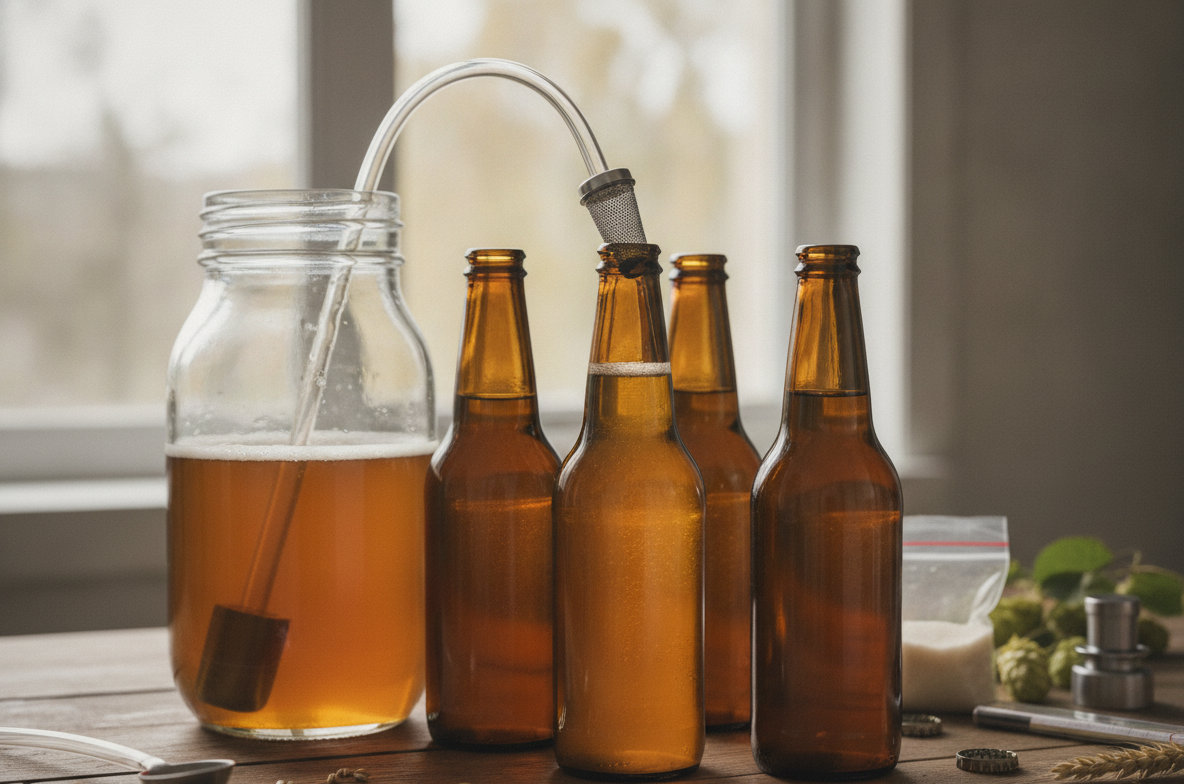
Attach the bottling wand to the spigot of your bottling bucket. Insert the wand to the very bottom of each sanitized bottle. Open the spigot and allow the beer to flow, filling the bottle from the bottom up. As the bottle fills, the wand creates a seal that prevents splashing and minimizes oxygen pickup. Fill each bottle to about 1 inch (2.5 cm) from the top, or to the very top of the bottle neck. When you remove the wand, it will leave the perfect headspace for carbonation.
It minimizes aeration and agitation of the beer, which helps keep any remaining particulate matter suspended minimally and ensures a cleaner fill.
Step 7: Cap and Condition the Bottles
Immediately after filling each bottle, place a sanitized cap on top and seal it with your bottle capper. A tight seal is essential to contain the CO2 produced during conditioning. Once capped, move your bottles to a dark place with a consistent temperature, ideally between 65-75°F (18-24°C). This temperature range allows the yeast to reactivate and carbonate the beer efficiently.
Conditioning typically takes 2-3 weeks, though some beers, especially those with higher alcohol content, may benefit from longer conditioning times. Avoid moving or disturbing the bottles during this period. The yeast needs time to work and then settle.
Step 8: Chill and Serve with Care
After the conditioning period, move your bottles to the refrigerator and chill them for at least 24-48 hours before serving. Cold temperatures help the remaining yeast compact into a firm cake at the bottom of the bottle. This makes it less likely to be disturbed when pouring.
When serving, pour the beer slowly and steadily into a clean glass, leaving the last half-inch or so of beer (and all the sediment) in the bottle. Hold the bottle upright and pour in one continuous motion. Avoid tilting the bottle back and forth. This technique ensures that only clear beer makes it into your glass.
Advanced Tips for Even Less Sediment
Use a Highly Flocculant Yeast Strain
Some yeast strains naturally clump together and settle out of beer more readily than others. Research yeast strains known for high flocculation if clear beer is a priority. This characteristic means less yeast will remain suspended when it's time to bottle.
Consider a Fining Agent
If you want to go the extra mile for clarity, fining agents like gelatin, Irish moss, or BioFine Clear can be added to your fermenter after fermentation is complete and before cold crashing. These agents help larger particles and yeast settle more quickly and compactly.
Avoid Secondary Fermentation Unless Necessary
While secondary fermentation can be useful for aging or adding fruit, transferring beer multiple times increases the risk of oxygen exposure and can stir up more yeast. For most standard ales, a single primary fermentation followed by cold crashing is sufficient and often results in clearer beer with less handling.
Final Thoughts
Achieving sediment-free bottle-conditioned beer requires patience and meticulous execution of each step. From ensuring full primary fermentation and cold crashing to gentle racking and careful pouring, every detail contributes to the final clarity.
Corn Sugar (Dextrose) priming sugar for beer brewing 4 Pounds
- Use for priming sugar when bottle conditioning beers