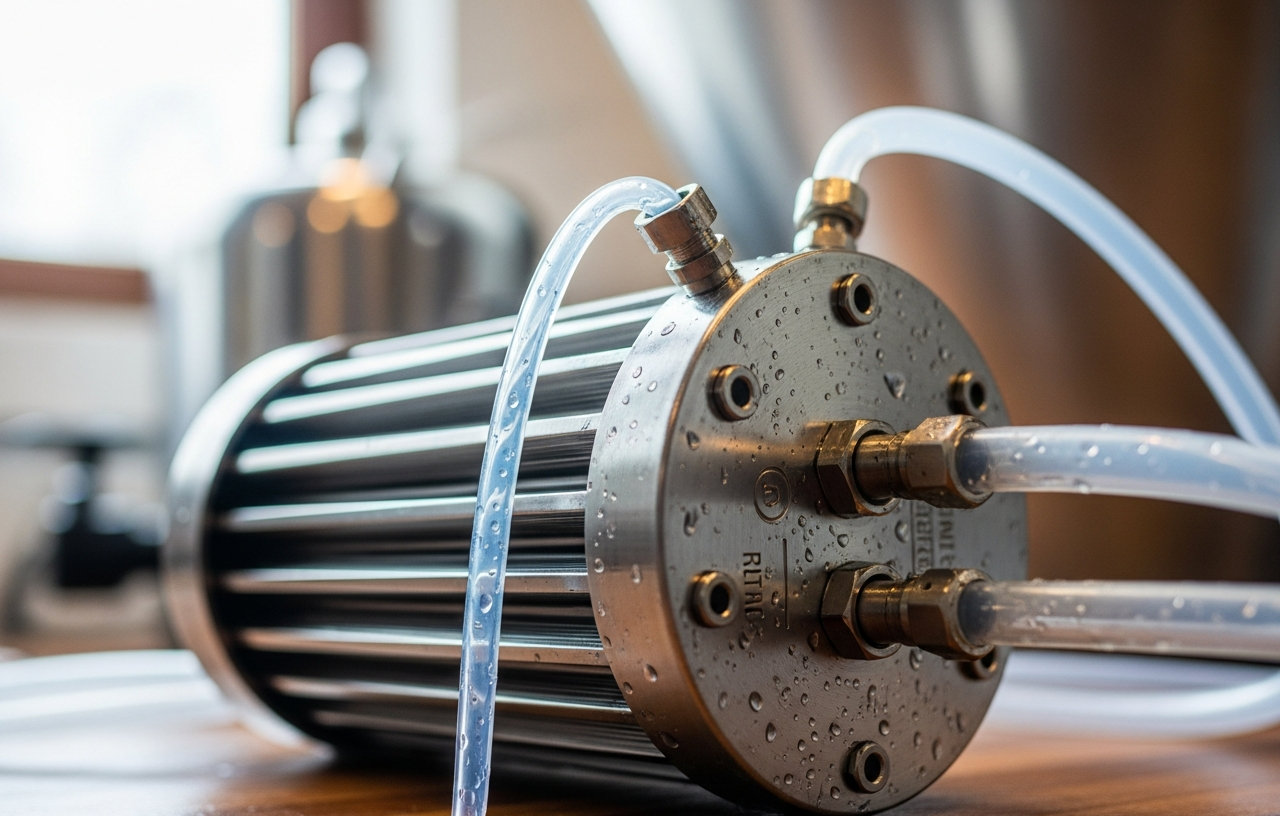
A plate chiller rapidly cools hot wort by transferring heat through a series of thin, corrugated stainless steel plates. This compact device uses a counter-flow mechanism, directing hot wort and cold water in opposite directions through alternating channels. Brewers use plate chillers to quickly bring wort down to pitching temperature, a step critical for preventing off-flavors and minimizing infection risks in homebrewing.
Understanding how a plate chiller functions can significantly improve the quality and efficiency of your brewing process. These devices are a popular choice for all-grain brewers and those producing larger batch sizes, offering a distinct advantage over simpler cooling methods.
How a Plate Chiller Works: The Science of Heat Exchange
At its core, a plate chiller is a highly efficient heat exchanger. It consists of many thin, usually stainless steel, plates pressed together to form a series of narrow channels. Hot wort flows through one set of channels, while cold cooling water flows through an alternating set of channels. The key is the counter-flow design, where the two liquids move in opposite directions.
When hot wort enters one end of the chiller, it immediately encounters cooling water that has already absorbed some heat and is now warmer. As the wort progresses through the chiller, it continuously meets cooler and cooler water, maximizing the temperature differential across the plates. This constant exchange of heat allows the wort to cool very rapidly, often to pitching temperatures in just minutes, depending on the chiller's size and water flow.
The corrugated design of the plates increases the surface area for heat transfer and creates turbulence in both fluid streams. This turbulence prevents stagnant layers of liquid from forming along the plate surfaces, which would otherwise reduce cooling efficiency. The result is a highly effective transfer of thermal energy from the wort to the cooling water.
Key Components of a Plate Chiller
Most homebrewing plate chillers share a few fundamental components:
- Plates: These are the heart of the chiller, typically made from food-grade stainless steel (e.g., 304 or 316). The number of plates varies, with more plates generally equating to greater cooling capacity. Common homebrewing models might have 20 to 40 plates.
- Gaskets or Brazing: The plates are either sealed together with gaskets (in larger, industrial units) or permanently brazed with copper or nickel (common for homebrew models). Brazed chillers are more compact and less prone to leaks but cannot be disassembled for cleaning.
- Inlets and Outlets: There are four ports on a plate chiller. Two are for the hot wort (in and out), and two are for the cooling water (in and out). The configuration ensures the counter-flow principle.
- Fittings: These ports usually come with NPT (National Pipe Taper) threads, barbed fittings, or quick-disconnect attachments for easy connection to hoses and pumps.
Benefits of Using a Plate Chiller for Homebrewing
Brewers choose plate chillers for several compelling reasons, primarily centered around speed and efficiency.
Rapid Wort Cooling
The primary advantage of a plate chiller is its ability to cool wort very quickly. A typical 5-gallon batch of boiling wort can often be brought down to yeast pitching temperature (e.g., 65-70°F or 18-21°C) in 5 to 15 minutes. These coagulated particles then settle out of the wort, leading to clearer beer and improved stability. Slow cooling can result in a less effective cold break, potentially causing chill haze in the final product.
Reducing DMS Formation
Dimethyl Sulfide (DMS) is a sulfur compound that can impart a cooked corn or vegetable flavor to beer. It forms during the boil and continues to form as long as the wort remains hot. Rapid cooling minimizes the time the wort spends at elevated temperatures, thus reducing the formation of DMS and allowing more volatile DMS to flash off. This is especially important for lighter lagers and pilsners.
Preventing Infection
The period between the end of the boil and the pitching of yeast is highly susceptible to microbial contamination. Wort is a nutrient-rich environment, and airborne bacteria and wild yeasts can quickly colonize it if given enough time. By cooling the wort quickly and transferring it to a sanitized fermenter, brewers significantly reduce the window of opportunity for unwanted microorganisms to take hold. Proper sanitization of all equipment contacting the cooled wort is still essential.
Water Efficiency
While often debated, a well-tuned plate chiller setup can be more water-efficient than some immersion chillers, especially when cooling to very low temperatures. Its highly efficient heat transfer means less cooling water might be needed to achieve the desired wort temperature. Some brewers also capture the warm output water for cleaning or other household uses.
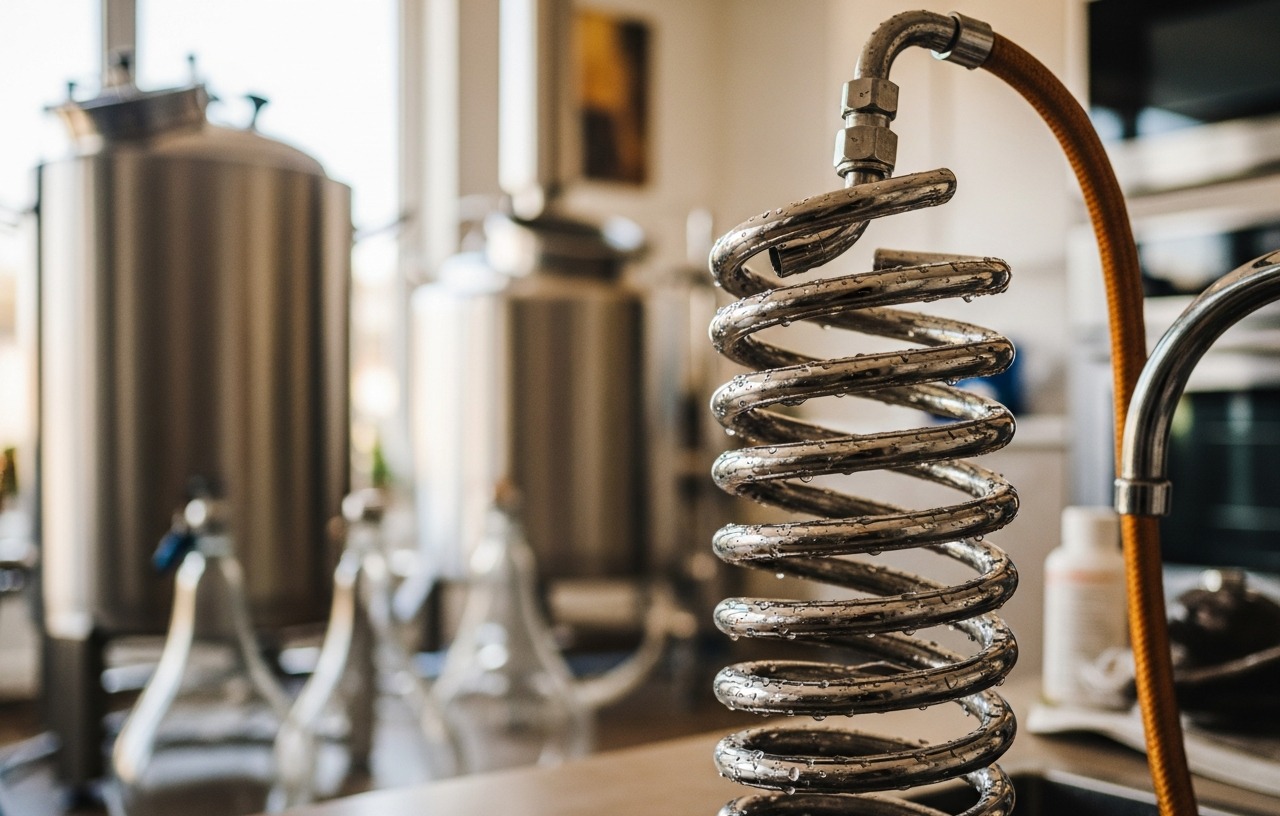
Compact Size
Plate chillers are relatively small and portable compared to the bulky coils of many immersion chillers, making them easier to store and integrate into a brewing setup.
Drawbacks and Challenges of Plate Chillers
Despite their benefits, plate chillers present specific challenges, primarily related to cleaning and potential clogging.
Difficulty in Cleaning
The internal channels of a plate chiller are very narrow and inaccessible. This makes them difficult to clean thoroughly, particularly if hop particles or trub get lodged inside. Improper cleaning can lead to bacterial growth, which will spoil subsequent batches of beer.
For this reason, brewers often compare plate chillers to immersion chillers. Immersion chillers are much easier to clean visually and physically.
Risk of Clogging
Hop cones, pellets, and other brewing debris can easily clog the narrow channels of a plate chiller. This blockage reduces flow, decreases cooling efficiency, and makes cleaning even harder. Brewers often use hop filters, bazooka screens, or false bottoms in their boil kettles to prevent solids from entering the chiller.
Requires a Pump (Often)
While some plate chillers can operate with gravity feed, many brewers find a pump necessary to push the wort through the chiller effectively, especially for larger batches or to achieve optimal flow rates. This adds to the initial equipment cost and complexity of the setup.
Initial Cost
Plate chillers typically have a higher upfront cost than basic immersion chillers. A dirty chiller is a breeding ground for bacteria and can ruin an entire batch of beer.
Immediate Post-Brew Cleaning
- Backflush: Immediately after transferring all wort, backflush the chiller with hot water. Connect your garden hose or a pump with hot water to the wort outlet port and let water flow out of the wort inlet port. This helps dislodge any particles before they dry and stick.
- Circulate Cleaner: Prepare a solution of a brewing-specific cleaner, such as PBW (Powdered Brewery Wash) or OxiClean Free, with hot water. Circulate this solution through the wort side of the chiller using a pump for at least 15-30 minutes. Reverse the flow direction midway through.
- Rinse Thoroughly: After cleaning, rinse the chiller extensively with clean, hot water, again backflushing and reversing flow, until no cleaning solution remains.
- Dry and Store: Drain as much water as possible from the chiller. Many brewers store their chillers filled with a sanitizing solution or a strong cleaning solution between brews to prevent bacterial growth. Alternatively, ensure it is completely dry to inhibit growth.
Pre-Brew Sanitization
Before each brew day, the plate chiller must be sanitized. This typically involves:
- Circulate Sanitizer: Pump a no-rinse sanitizer like Star San or Iodophor solution through the wort side of the chiller for the recommended contact time. Again, reverse the flow to ensure all internal surfaces are exposed.
- Boiling Water: Some brewers run boiling hot water or even boiling wort from the kettle through the chiller for the last 5-10 minutes of the boil. This method provides excellent sanitization, as the heat kills any remaining microorganisms.
Setting Up and Using a Plate Chiller
A typical plate chiller setup involves several connections:
- Wort Connections: The hot wort outlet from your boil kettle connects to the wort inlet of the chiller. The wort outlet of the chiller then connects to your sanitized fermenter. A pump is often placed between the kettle and the chiller to facilitate flow.
- Cooling Water Connections: Your cold water source (e.g., garden hose or utility sink faucet) connects to the cooling water inlet of the chiller. The cooling water outlet can either drain to a sink or collection vessel, or be diverted for reuse.
- Temperature Monitoring: It is advisable to have a thermometer at the wort outlet of the chiller to monitor the temperature of the cooled wort as it enters the fermenter. This allows you to adjust wort or water flow rates to achieve your target pitching temperature.
Controlling the flow rate of both the wort and the cooling water allows you to fine-tune the final wort temperature. Faster wort flow or slower water flow will result in warmer wort, while slower wort flow or faster water flow will yield cooler wort. Many brewers aim for a wort output temperature that is just above their desired pitching temperature, allowing for a slight drop as it transfers to the fermenter.
Plate Chillers in the Homebrewing Context
Plate chillers are particularly well-suited for all-grain brewing systems, where larger volumes of wort need efficient cooling. They represent an upgrade from simpler immersion chillers for brewers seeking faster turnaround times, clearer beer, and greater control over the cooling process.
While the initial setup and cleaning process can be more involved, the benefits of rapid cooling and improved beer quality make plate chillers a valuable tool for many serious homebrewers. Understanding their mechanism and following strict cleaning protocols are key to maximizing their potential.