
Calculators Desktop,Ipepul Talking Calculator with 2-line 12-Digits Large LCD Display and Large Button,4 Function Calculator for
- This calculator features a voice broadcast function that clearly reads out numbers and results after each.
- Equipped with a 12-digit LCD and dual-line display, it allows users to view both current input and.
- The screen is set at a fixed 45-degree angle, providing a comfortable viewing angle that reduces neck.
- Designed with oversized keys for easy, accurate pressing,perfect for fast input without errors. Includes.

New, Two Line Display, Desktop Calculator. History Function- 30 Memories, Calculator with Large LCD for Home & Office Use, 4.5×7
- If you press the key too fast, it can cause an error because TL-250 used IC for engineering calculators.
- Size: 4.5×7 inch, 153g, Two way power Two Line Display, Desktop Calculator
- History Function - The calculated record can be retrieved and corrected. ( About 30 memories )
- Turn the calculator upside down and remove the battery History will be deleted after three seconds.

Flutesan 15 Pieces 2 Line Engineering Scientific Calculator Bulk Function Math Calculator Large Display for Student Teacher
- Sufficient Quantity: you will receive 15 packs of calculators for school, packs of school calculators.
- Practical Tools: the engineering calculator with 240 scientific functions can easily handle 1 and 2.
- 2 Line Clear Display: this math calculator has a 12 digit high definition display widescreen, and a 2 line.
- Easy to Hold: this scientific calculator engineering has a hard sliding cover that can protect the keys of.
Foamy beer gushing from your tap, or a flat, lifeless pour, often signals an imbalance in your kegerator's serving pressure. The correct CO2 pressure is essential for maintaining proper carbonation, preventing excessive foam, and delivering a satisfying glass of homebrew. Setting this pressure correctly makes sure your beer stays crisp, effervescent, and flows smoothly from the tap.
An improperly balanced draft system can lead to frustration and wasted beer. Too much pressure causes over-carbonation and foam. Too little pressure results in flat beer and slow pours. Finding that sweet spot requires understanding a few key factors: your beer's desired carbonation level, the serving temperature, and the specific resistance of your draft lines.
Understanding CO2 Pressure and Carbonation
Carbonation in beer is measured in "volumes of CO2." This refers to the amount of carbon dioxide dissolved in a specific volume of liquid. Different beer styles have different ideal carbonation levels. For example, a British Bitter might be served at 1.5-2.0 volumes, while a German Hefeweizen often needs 3.0-4.0 volumes.
Temperature plays a significant role in how CO2 dissolves into liquid. Colder beer absorbs more CO2 than warmer beer. This means that to achieve a specific carbonation level, you need a different pressure setting depending on your kegerator's temperature. An equilibrium chart helps you find the right balance between temperature and pressure for your desired CO2 volumes.
What You Will Need
- Your kegerator system (CO2 tank, regulator, keg, beer lines, tap)
- A reliable thermometer (for measuring beer temperature)
- Carbonation chart (available online or in brewing books)
- A calculator (for quick conversions or calculations, if needed)
- Leak detection solution (Star San solution or soapy water)
- Adjustable wrench or CO2 wrench
Safety First: Handling CO2
Carbon dioxide is a compressed gas. Always handle your CO2 tank with care. Make sure the tank is secured upright to prevent it from falling, which could damage the valve or regulator. Store CO2 tanks in a well-ventilated area. If you suspect a major leak, ventilate the area immediately and turn off the gas supply at the tank valve. CO2 displaces oxygen, so significant leaks in confined spaces can be dangerous.
step by step Guide to Setting Kegerator Serving Pressure
Follow these steps to dial in the perfect serving pressure for your homebrew.
Step 1: Determine Your Desired CO2 Volumes
Before adjusting any dials, decide on the appropriate carbonation level for the beer style you are serving. Research the typical CO2 volumes for your specific beer. Many online resources and brewing books offer style guides. For most American Ales, 2.3-2.6 volumes is a good starting point. Lagers might prefer slightly higher levels.
Step 2: Measure Your Beer Temperature Accurately
The temperature inside your kegerator is critically important. Use a reliable thermometer to measure the actual liquid temperature of your beer. Do not rely solely on your kegerator's thermostat display, as air temperature can differ from liquid temperature. Place a thermometer in a glass of water inside the kegerator for several hours to get an accurate reading.
Step 3: Use a Carbonation Chart or Calculator
With your desired CO2 volumes and actual beer temperature, consult a carbonation chart. These charts cross-reference temperature and CO2 volumes to give you the required PSI (pounds per square inch) for your regulator. Many online calculators are also available, often simplifying this process. These tools help you quickly find the correct pressure setting.
For quick calculations or if you prefer a tangible tool, a desktop calculator can be useful. The Ipepul Talking Calculator features a voice broadcast function that clearly reads out numbers and results after each entry. It also has a 12-digit LCD and dual-line display, letting you see both current input and previous results. The screen is set at a fixed 45-degree angle, providing a comfortable viewing angle that reduces neck strain during extended use. Another option is the New, Two Line Display, Desktop Calculator, which offers a history function with up to 30 memories. This allows you to retrieve and correct calculated records, which is helpful if you are comparing different beer styles or temperatures.
Step 4: Connect Your CO2 Tank and Regulator
Make sure your CO2 tank valve is closed. Attach your CO2 regulator to the tank valve. Tighten the connection with an adjustable wrench until it is snug. Do not overtighten. You can find excellent options for your setup by reviewing our guide on the . Once connected, slowly open the main valve on your CO2 tank all the way.
Step 5: Attach the Keg
Connect the gas line from your regulator to the "gas in" post on your beer keg. For most homebrewers, this means connecting to a ball lock or pin lock disconnect. Make sure the connection is secure. If you are looking for new kegs, consider reading our review of the .
Step 6: Set the Regulator Pressure
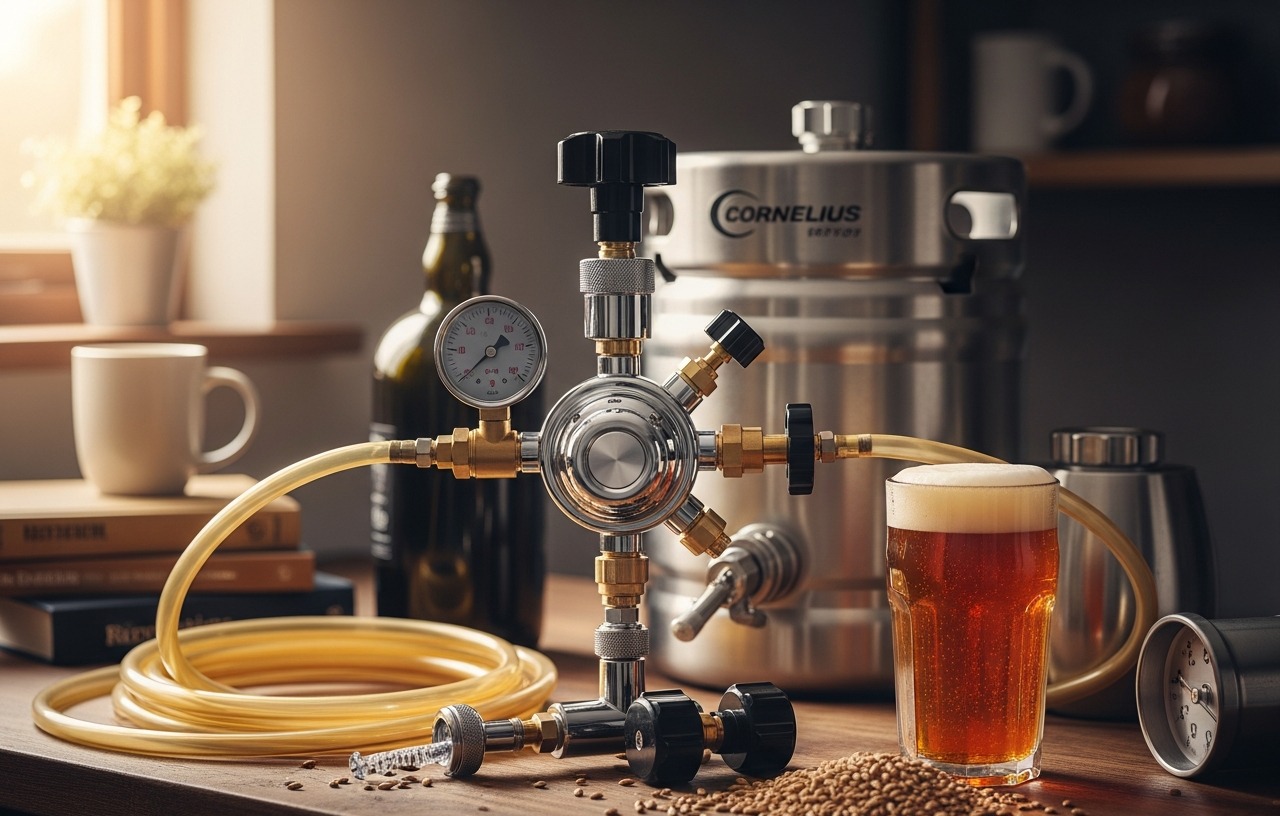
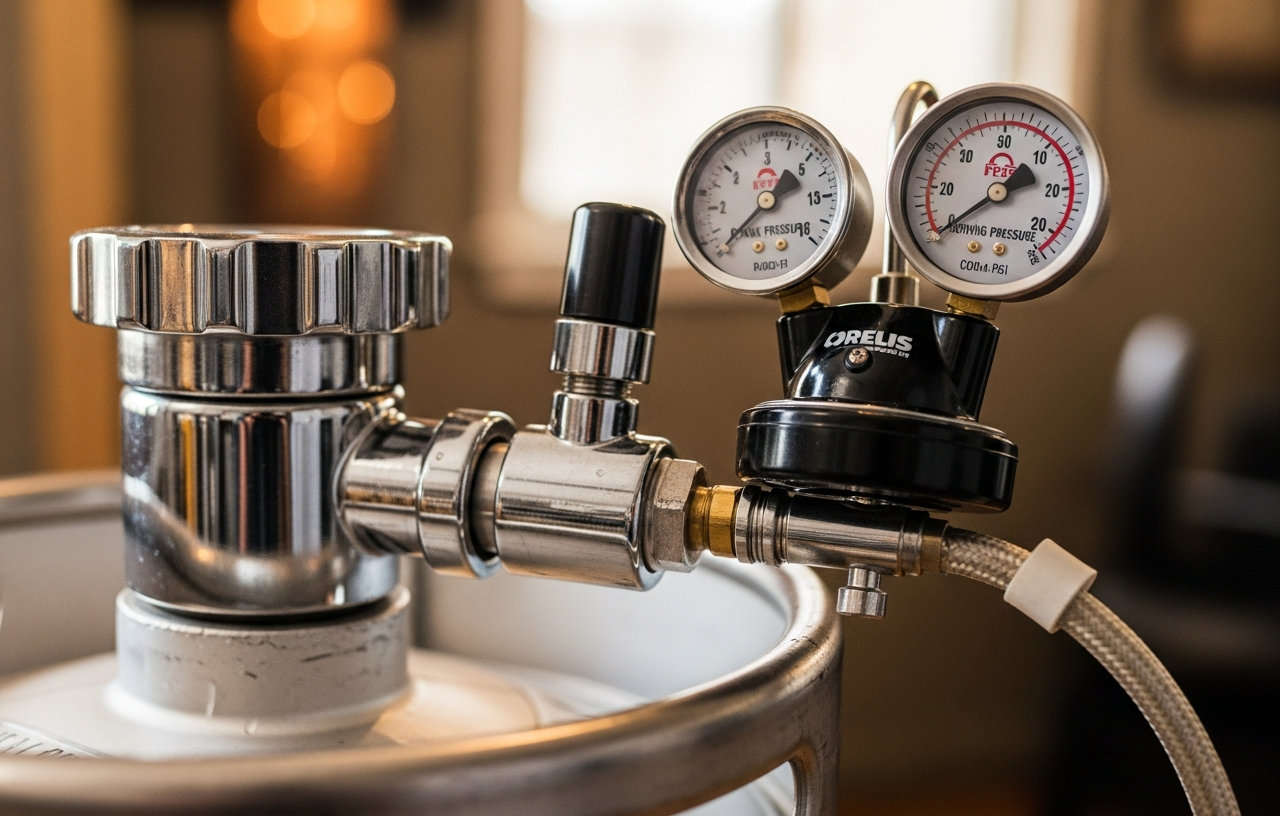
Your CO2 regulator will have at least two gauges: one showing the tank pressure (high pressure) and another showing the output pressure (low pressure). The low-pressure gauge is what you will adjust. Turn the adjustment screw or knob on your regulator counter-clockwise to fully reduce the pressure. Then, slowly turn it clockwise, watching the low-pressure gauge, until it reaches the PSI you determined in Step 3. Once set, close the tank valve for a moment, then reopen it to let the gauge settle. Make any final fine adjustments.
Step 7: Check for Leaks
Leaks are common and can quickly empty a CO2 tank. After setting your pressure, spray all connections (regulator to tank, gas line to regulator, gas line to keg) with a leak detection solution. A simple solution of Star San mixed with water or soapy water works well. Look for bubbles forming at the connections. If you see bubbles, tighten the connection slightly or re-seat the O-rings until the bubbling stops.
Step 8: Pour and Adjust
After setting the pressure, allow the beer to equilibrate for several hours, or even a day, especially if you are force carbonating. Pour a small sample. If the beer is too foamy, the pressure might be too high, or your beer lines might be too short or too narrow for the pressure. If the beer pours flat, the pressure is likely too low, or you need more time for carbonation. Make small adjustments to the regulator, about 1-2 PSI at a time, and wait a few hours before re-evaluating. The length and diameter of your beer lines also impact pour speed and foam. Longer, narrower lines provide more restriction, allowing for higher serving pressures without excessive foam.
Troubleshooting Common Kegerator Issues
Excessive Foam
The most common cause of foam is incorrect serving pressure. Double-check your carbonation chart and temperature. Other causes include warm beer lines, a dirty tap, or serving beer too quickly after agitation. Make sure your beer lines are adequately long (typically 8-10 feet of 3/16-inch ID line for standard serving pressures) to provide enough resistance. If your faucet is warm, run a bit of beer through it to cool it down before pouring a full glass. Regularly cleaning your beer lines and faucet also helps prevent foam and off-flavors.
Flat Beer
Flat beer often means your serving pressure is too low, or the beer has not had enough time to carbonate. Confirm your regulator setting matches the carbonation chart for your beer style and temperature. If you just connected the keg, allow 24-48 hours for the CO2 to fully dissolve into the beer. Leaks in your system can also lead to pressure loss and flat beer. Check all connections for leaks as described in Step 7.
Slow Pours
A slow pour can indicate a CO2 tank that is nearly empty, a clogged gas line, or a tap issue. First, check your high-pressure gauge on the regulator to see if the tank is low. If it is, replace the CO2 tank. Inspect your gas line for kinks or obstructions. Disassemble and clean your tap if you suspect a clog. Sometimes, the beer line itself might be too long or too narrow for your desired serving pressure, creating too much resistance. Shortening the beer line slightly or using a wider diameter line can help, though this needs to be balanced against foam control.
Maintenance Tips for Consistent Pours
Regular maintenance keeps your kegerator running smoothly. Clean your beer lines every two to four weeks with a specialized beer line cleaner. This prevents beer stone and bacterial buildup that can affect taste and pour quality. Disassemble and clean your tap regularly. Periodically check all O-rings and gaskets on your keg, regulator, and disconnects for wear and tear. Replacing worn parts prevents leaks and maintains a sealed system.
Consider the total kegerator cost breakdown to understand the investment and upkeep for your system. A well maintained kegerator provides years of enjoyment. Learning how to set the correct serving pressure is one of the most important skills for any homebrewer with a draft system. With practice, you will quickly find the ideal settings for all your favorite brews.
Calculators Desktop,Ipepul Talking Calculator with 2-line 12-Digits Large LCD Display and Large Button,4 Function Calculator for
- This calculator features a voice broadcast function that clearly reads out numbers and results after each.
- Equipped with a 12-digit LCD and dual-line display, it allows users to view both current input and.
- The screen is set at a fixed 45-degree angle, providing a comfortable viewing angle that reduces neck.
- Designed with oversized keys for easy, accurate pressing,perfect for fast input without errors. Includes.
New, Two Line Display, Desktop Calculator. History Function- 30 Memories, Calculator with Large LCD for Home & Office Use, 4.5×7
- If you press the key too fast, it can cause an error because TL-250 used IC for engineering calculators.
- Size: 4.5×7 inch, 153g, Two way power Two Line Display, Desktop Calculator
- History Function - The calculated record can be retrieved and corrected. ( About 30 memories )
- Turn the calculator upside down and remove the battery History will be deleted after three seconds.
Flutesan 15 Pieces 2 Line Engineering Scientific Calculator Bulk Function Math Calculator Large Display for Student Teacher
- Sufficient Quantity: you will receive 15 packs of calculators for school, packs of school calculators.
- Practical Tools: the engineering calculator with 240 scientific functions can easily handle 1 and 2.
- 2 Line Clear Display: this math calculator has a 12 digit high definition display widescreen, and a 2 line.
- Easy to Hold: this scientific calculator engineering has a hard sliding cover that can protect the keys of.