
Fermax Yeast Nutrient, 1lb (Package May Vary)
- Use 1 teaspoon per gallon prior to fermentation beginning
- Improves attenuation and speed of fermentation
- Package May Vary from images

North Mountain Supply Food Grade Yeast Nutrient - 3.5 Ounce Jar,(Pack of 2)
- The information below is per-pack only
- North Mountain Supply Food Grade Yeast Nutrient - 3.5 Ounce Jar
- Packaged in a plastic jar with a tamper evident air tight seal to ensure quality and freshness!
- Yeast nutrient is a mixture of diammonium phosphate and food-grade Urea
A weak or stalled fermentation often traces back to improper yeast pitching. This critical step in brewing involves introducing yeast to your cooled wort. When done correctly, it sets the stage for a healthy fermentation, leading to delicious beer. Incorrect pitching, however, can result in off-flavors, slow fermentation, or even a completely stuck batch. Understanding the nuances of yeast health and temperature control transforms your brewing results.
Preparing your yeast and wort for pitching requires attention to detail. Brewers must consider yeast type, rehydration methods, and the ideal temperature for the yeast to begin its work. Following a precise process prevents many common brewing problems and helps you achieve the beer you envision.
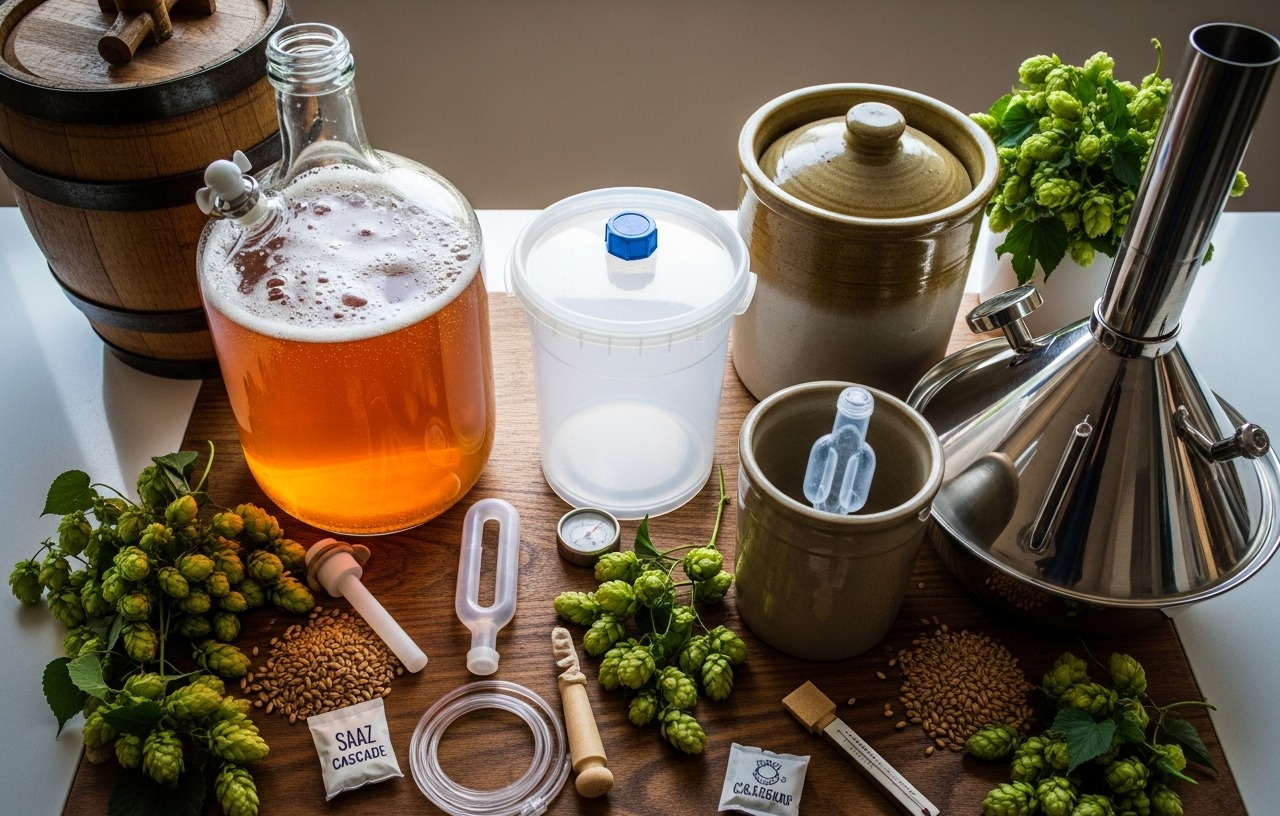
Essential Tools and Materials for Yeast Pitching
Before you begin, gather these items to ensure a smooth and sanitary pitching process. Preparation is key to yeast health and successful fermentation.
- Yeast: Your chosen strain (dry or liquid).
- Sanitizer: A no-rinse sanitizer like Star San.
- Erlenmeyer Flask or Sanitized Jar: For rehydrating dry yeast or preparing a liquid yeast starter.
- Thermometer: To accurately measure wort and rehydration water temperatures.
- Yeast Nutrient: Products like Fermax Yeast Nutrient or North Mountain Supply Food Grade Yeast Nutrient provide vital support for yeast growth.
- Measuring Spoons or Scale: For accurate nutrient dosing.
- Sanitized Spoon or Stirring Rod: For mixing.
- Fermentation Vessel: Your cleaned and sanitized carboy or fermenter.
- Cooled Wort: The beer base ready for fermentation.
- Stir Plate (Optional): Useful for liquid yeast starters to maintain yeast in suspension and boost growth.
Understanding Yeast Pitching Temperature
Temperature is one of the most critical factors in successful yeast pitching. Yeast is sensitive to thermal shock, which can damage cell walls and lead to sluggish fermentation or off-flavors. The goal is to match the yeast's temperature as closely as possible to the wort's temperature, usually within 5-10°F (2-5°C), before pitching. Most ale yeasts prefer pitching temperatures between 60-70°F (15-21°C), while lager yeasts prefer cooler temperatures, often 45-55°F (7-13°C). Always check the manufacturer's recommendations for your specific yeast strain.
How to Properly Pitch Yeast: A step by step Guide
This detailed guide covers both dry and liquid yeast pitching methods. Follow these steps carefully for optimal results.
Step 1: Choose Your Yeast and Determine Pitching Rate
Your recipe dictates the yeast strain. Dry yeast often comes in 11-gram packets, suitable for 5 gallons of standard gravity wort. Liquid yeast vials or smack-packs frequently contain less yeast, often requiring a starter for higher gravity beers or larger batches. Using a pitching rate calculator can help determine the exact amount of yeast needed for your specific beer style and wort gravity.
Step 2: Sanitize All Equipment
Sanitation prevents contamination, which can ruin a batch. Sanitize your fermentation vessel, airlock, stopper, thermometer, stirring tools, and any containers used for yeast rehydration or starters. Use a no-rinse sanitizer according to its instructions. Even a small amount of bacteria or wild yeast can introduce unwanted flavors and aromas into your beer.
Step 3: Prepare Your Wort
After brewing, cool your wort rapidly to the desired pitching temperature. Using a wort chiller helps achieve this quickly. Transfer the cooled wort to your sanitized fermentation vessel. Make sure the wort is at the target temperature before proceeding. Cooling the wort too slowly can also create off-flavors or increase the risk of infection.
Step 4: Rehydrate Dry Yeast (If Using Dry Yeast)
Rehydrating dry yeast properly boosts its viability and vitality. This step is often overlooked but provides a significant advantage for yeast health.
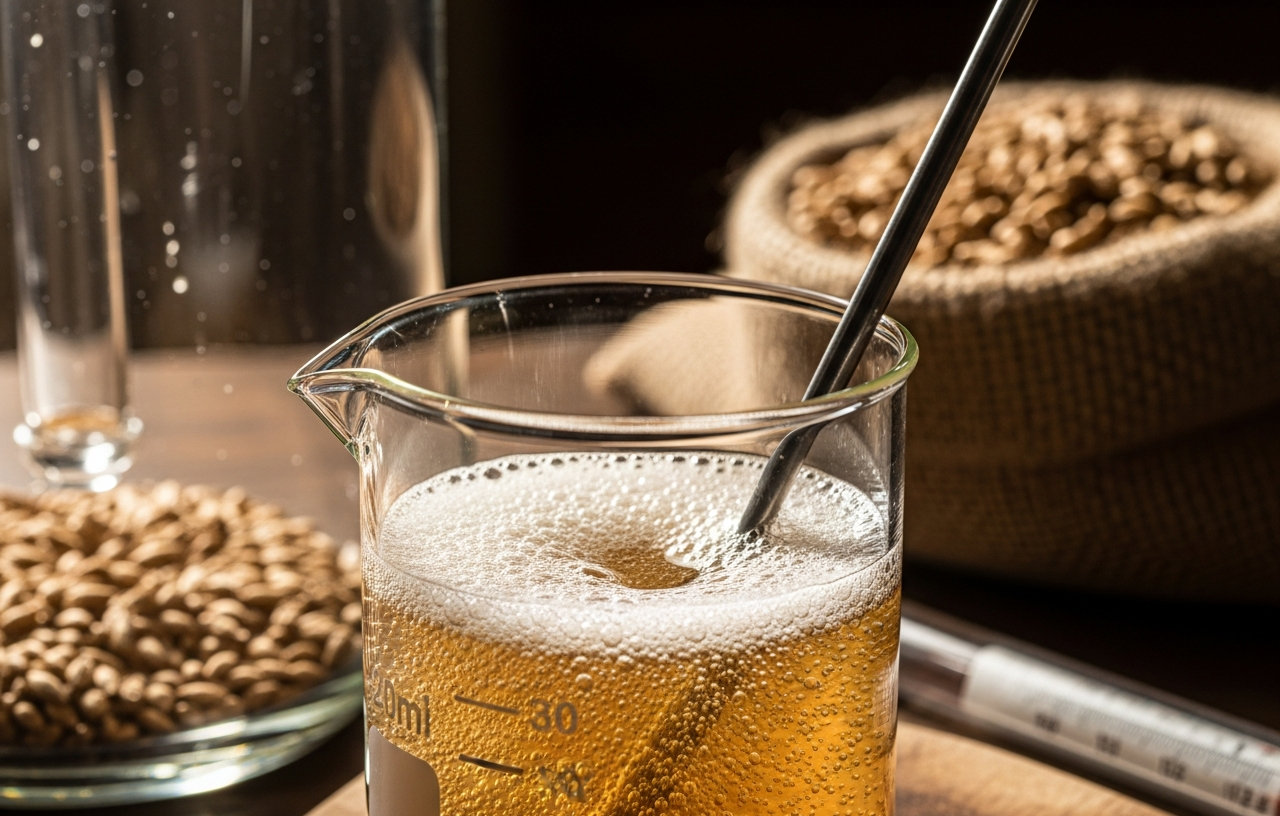
- Heat Water: Boil about 1 cup (250ml) of clean, chlorine-free water. Let it cool to 95-105°F (35-40°C). Use your sanitized thermometer to confirm the temperature.
- Add Yeast Nutrient: Stir in yeast nutrient to the rehydration water. For example, add 1 teaspoon of Fermax Yeast Nutrient per gallon of beer you are brewing. This improves attenuation and speed of fermentation. Alternatively, use North Mountain Supply Food Grade Yeast Nutrient, which comes in a convenient 3.5-ounce jar.
- Sprinkle Yeast: Gently sprinkle the dry yeast onto the surface of the cooled water. Do not stir immediately.
- Wait: Let the yeast sit undisturbed for 15-20 minutes. This allows the cells to absorb water and re-establish their cell membranes.
- Gently Stir: After waiting, gently stir the yeast slurry with a sanitized spoon until fully mixed.
- Temper: Over the next 5-10 minutes, slowly add small amounts (1-2 tablespoons) of your cooled wort to the yeast slurry. This gradual process brings the yeast's temperature closer to the wort's temperature, minimizing thermal shock. Continue until the yeast slurry is within 5-10°F (2-5°C) of your wort. This step is critical for healthy yeast.
Step 5: Prepare a Liquid Yeast Starter (If Using Liquid Yeast, Optional for Smaller Batches)
A starter is a mini-fermentation that increases the cell count of liquid yeast, particularly beneficial for high-gravity beers or lagers. This step usually takes 24-48 hours before brew day.
- Brew Starter Wort: Create a small batch of wort (typically 1-2 liters) with a specific gravity around 1.030-1.040. You can use dried malt extract (DME) for this. Boil it for 10-15 minutes, then cool it to pitching temperature.
- Sanitize: Sanitize an Erlenmeyer flask or a large, sanitized jar.
- Add Yeast Nutrient: Include yeast nutrient in your starter wort. A small amount of Fermax Yeast Nutrient or North Mountain Supply Food Grade Yeast Nutrient will support vigorous growth.
- Pitch Yeast: Open your liquid yeast package and pour it into the cooled starter wort.
- Aerate: Vigorously shake the flask or use a stir plate to introduce oxygen. A stir plate keeps yeast suspended and continuously aerated, promoting rapid cell growth.
- Ferment: Allow the starter to ferment at room temperature for 18-24 hours. You will see active fermentation.
- Chill and Decant (Optional): For cleaner starters, chill the starter in a refrigerator for several hours or overnight. This causes the yeast to settle. Decant (pour off) most of the spent starter wort, leaving a thick yeast slurry. This slurry is then pitched into your main batch. Decanting reduces off-flavors that might come from the starter wort itself.
- Temper: Before pitching, remove the starter from the fridge and allow it to warm up to the main wort's temperature.
Step 6: Confirm Wort and Yeast Temperatures
Once more, verify that your wort is at the target pitching temperature. If using rehydrated dry yeast or a liquid yeast starter, confirm its temperature is within the acceptable range of your wort. Thermal shock is a common cause of sluggish fermentation.
Step 7: Pitch the Yeast into the Fermentation Vessel
Now it is time to add the yeast to your wort. This process should be done quickly and cleanly to minimize exposure to air and potential contaminants.
- Dry Yeast: Pour the rehydrated yeast slurry directly into the fermenter.
- Liquid Yeast (Vial/Smack-Pack): If not using a starter, open the package and pour the contents into the fermenter. If using a decanted starter, pour the yeast slurry into the fermenter.
Step 8: Aerate the Wort
Yeast needs oxygen to reproduce effectively in the initial stages of fermentation. This is called the lag phase. Aerate your wort immediately after pitching.
- Shake Fermenter: Secure the lid on your fermenter and vigorously shake it for several minutes. This dissolves oxygen into the wort.
- Oxygenation System: For more advanced brewers, an oxygenation stone and an oxygen tank provide precise control over dissolved oxygen levels.
Step 9: Seal and Ferment
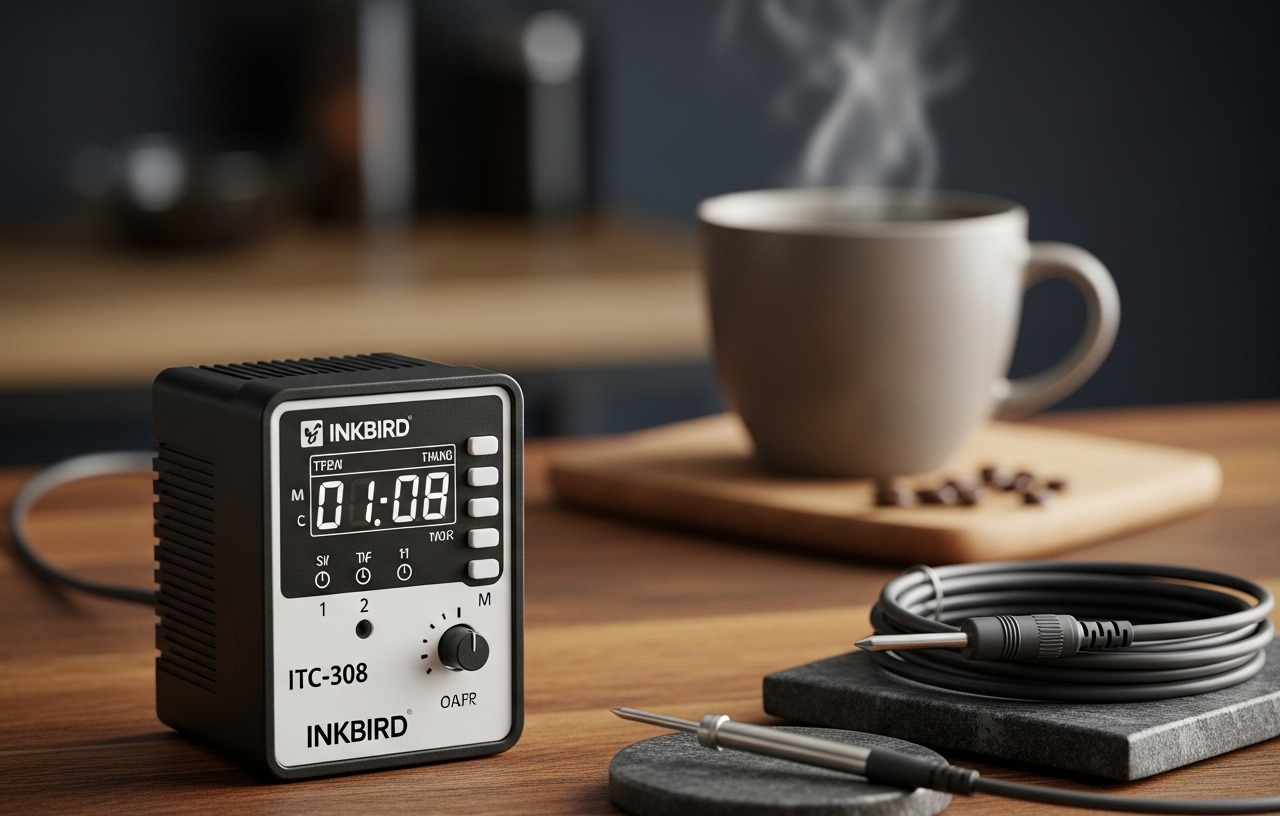
Once the yeast is pitched and the wort is aerated, seal your fermenter with a sanitized airlock and stopper. Place the fermenter in an area where the temperature can be maintained within the yeast's optimal range. Using a fermentation temperature controller helps maintain consistent temperatures, preventing off-flavors and ensuring a complete fermentation. Fermentation will typically begin within 12-24 hours, often evidenced by bubbling in the airlock and the formation of krausen.
Troubleshooting Common Pitching Problems
Even with careful preparation, issues can arise. Knowing how to diagnose and address them helps save your batch.
- No Activity After 24-48 Hours: First, check the fermentation temperature. If it is too low, move the fermenter to a warmer spot. Confirm the airlock is sealed properly. A leaky seal might mean fermentation is happening but gas escapes elsewhere. If still no activity, consider pitching more yeast, especially if the original yeast was old or poorly handled.
- Stalled or Sluggish Fermentation: This can occur if the yeast was underpitched, stressed by thermal shock, or lacked nutrients. Gentle swirling of the fermenter can sometimes rouse dormant yeast. Adding more yeast nutrient, like Fermax Yeast Nutrient, can also provide a boost.
- Off-Flavors: High pitching temperatures or insufficient yeast can lead to off-flavors like fusel alcohols (harsh, solvent-like) or diacetyl (buttery). While difficult to reverse, maintaining proper fermentation temperature moving forward helps.
Maintaining Fermentation After Pitching
Pitching is just the beginning. Fluctuations can stress the yeast, leading to off-flavors or stalled fermentation. Patience is also a virtue. Resist the urge to open the fermenter frequently, as this introduces oxygen and potential contaminants. Allow the yeast to complete its work at its own pace.
Cost Estimates for Yeast and Nutrients
The cost of yeast varies by type and brand. A single packet of dry yeast typically costs between $3 and $7. Liquid yeast vials or smack-packs usually range from $7 to $15 each. Yeast nutrients like Fermax Yeast Nutrient or North Mountain Supply Food Grade Yeast Nutrient are generally affordable, with a pound of nutrient often costing $10-$20 and lasting for many batches. These are small investments that significantly impact beer quality.
Properly pitching yeast is a fundamental skill in homebrewing. It directly influences the flavor, aroma, and overall quality of your finished beer. By understanding the importance of sanitation, temperature control, and yeast health, you set your brew up for success. Adhering to these steps ensures your yeast performs its best, transforming your wort into a delicious, satisfying beverage.
Fermax Yeast Nutrient, 1lb (Package May Vary)
- Use 1 teaspoon per gallon prior to fermentation beginning
- Improves attenuation and speed of fermentation
- Package May Vary from images
North Mountain Supply Food Grade Yeast Nutrient - 3.5 Ounce Jar,(Pack of 2)
- The information below is per-pack only
- North Mountain Supply Food Grade Yeast Nutrient - 3.5 Ounce Jar
- Packaged in a plastic jar with a tamper evident air tight seal to ensure quality and freshness!
- Yeast nutrient is a mixture of diammonium phosphate and food-grade Urea