Active fermentation generates significant CO2 and a thick foam called krausen, which can quickly clog a standard airlock and even lead to dangerous pressure buildup. A blow-off tube is a simple, effective piece of brewing equipment that manages this pressure. It prevents messy overflows and protects your fermenter from potential damage, especially during the most vigorous stages of primary fermentation.
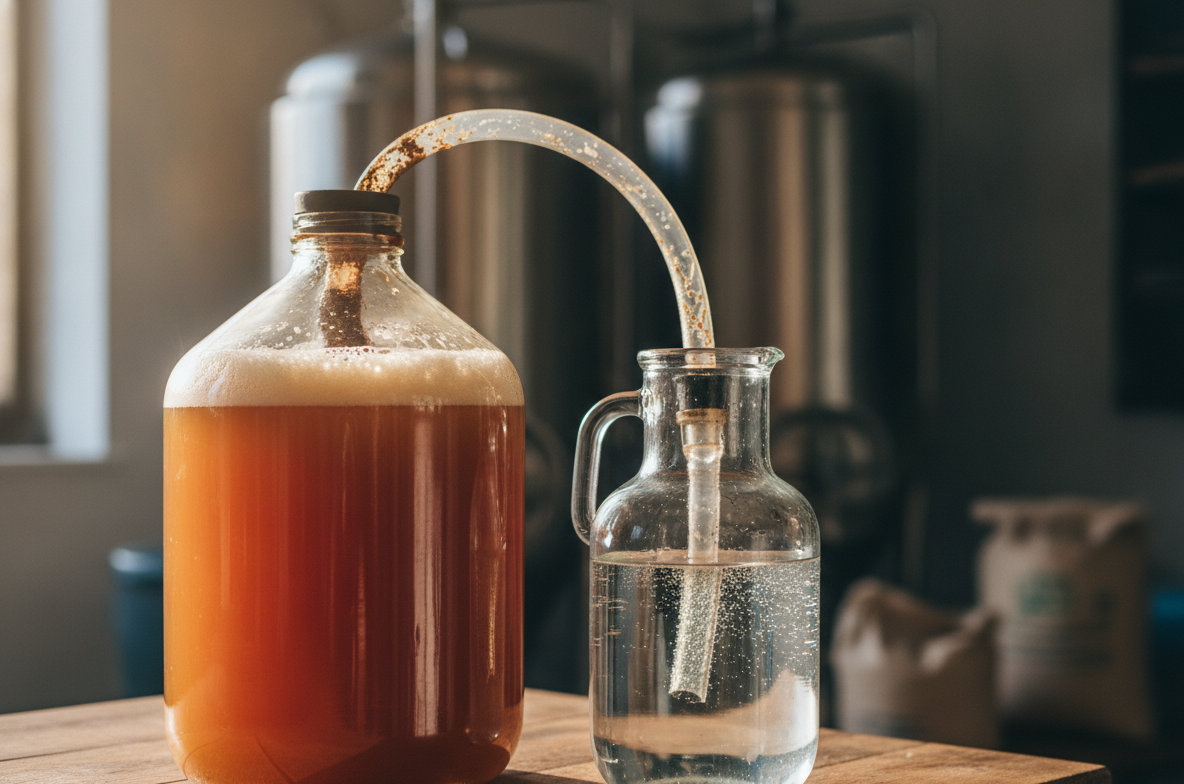
This setup consists of a length of tubing connected to your fermenter, with the other end submerged in a separate container of sanitizing solution. It allows excess CO2 and krausen to escape safely, maintaining a sealed, anaerobic environment for your brew.
Why a Blow-Off Tube is Essential for Fermentation
Using a blow-off tube provides several critical benefits for home brewers, ranging from mess prevention to ensuring the safety and quality of their fermented beverages.
Prevents Airlock Clogs and Messy Overflows
During the initial days of fermentation, yeast activity can be extremely vigorous. This creates a substantial amount of CO2 and a thick layer of foam, known as krausen. A standard three-piece airlock has narrow passages. These passages easily become clogged by krausen, preventing CO2 from escaping. When the airlock clogs, pressure builds rapidly inside the fermenter. This pressure can force the airlock off, causing a foamy eruption across your brewing area. A blow-off tube, with its wider diameter, easily handles the krausen and gas expulsion, directing it safely into a sanitation bucket.
Reduces Risk of Fermenter Damage
While rare, extreme pressure buildup from a clogged airlock can damage a fermentation vessel. Plastic carboys might bulge, and glass carboys could potentially crack or shatter, creating a hazardous situation and a complete loss of your batch. The wide opening of a blow-off tube acts as a pressure relief valve, making sure that CO2 can always escape, even when dealing with extremely active fermentations or high-gravity brews.
Maintains Anaerobic Conditions
The blow-off tube's design, with its end submerged in sanitizer, functions like an oversized airlock. It allows gases to exit the fermenter without letting oxygen or wild microbes enter. It also protects your brew from contamination by airborne bacteria or yeast.
Ideal for High-Gravity and Fruit Fermentations
Beers with high original gravities (e.g., Imperial Stouts, Barleywines) or those brewed with significant fruit additions (common in sours, ciders, or meads) often produce exceptionally vigorous fermentations. The increased sugar content fuels the yeast, leading to more CO2 and krausen. A blow-off tube is almost always recommended for these types of brews to manage the intense activity effectively.
When to Use a Blow-Off Tube
A blow-off tube is most beneficial during the primary fermentation phase, particularly for the first 3 to 7 days. This is the period of highest yeast activity, CO2 production, and krausen formation. Once the krausen has significantly subsided and CO2 production has slowed to a steady bubble every few seconds, you can typically switch to a traditional airlock if desired. Some brewers opt to leave the blow-off tube in place for the entire primary fermentation, especially if they anticipate a prolonged active period.
Setting Up a Blow-Off Tube System
Assembling a blow-off tube system is simple and requires only a few inexpensive components.
Materials Needed
- Tubing: Food-grade vinyl or silicone tubing, typically with an inner diameter (ID) of 1/2 inch, 5/8 inch, or 1 inch. The length should be sufficient to reach from your fermenter to a bucket on the floor.
- Stopper or Bung: A rubber or silicone stopper with a drilled hole that matches the outer diameter of your chosen tubing. Common sizes for glass carboys are #6.5 or #7 for 5-gallon, and #10 for 6.5-gallon. For plastic fermenters, make sure the bung fits snugly.
- Sanitation Bucket: A clean, food-grade bucket (1-2 gallons is usually sufficient) to hold the sanitizing solution.
- Sanitizing Solution: Star San, iodine-based sanitizer, or a diluted bleach solution (1 tablespoon per gallon of water) works well.
step by step Setup
- Clean and Sanitize: All components, including the tubing, stopper, and sanitation bucket, must be thoroughly cleaned and sanitized. Proper sanitization of brewing equipment
- Insert Tubing into Stopper: Push one end of the tubing firmly into the drilled hole of the stopper. Make sure it creates a tight seal.
- Seal Fermenter: Insert the stopper with the tubing attached into the neck of your fermenter. Twist it gently to create a firm, airtight seal. The tubing should extend a few inches into the headspace of the fermenter but not touch the liquid.
- Position Sanitation Bucket: Place the sanitation bucket on the floor next to your fermenter. Make sure the bucket is lower than the fermenter to allow gravity to assist with gas expulsion.
- Add Sanitizer: Fill the sanitation bucket with enough sanitizing solution to submerge the free end of the blow-off tube by at least 1-2 inches. This creates the liquid seal.
- Monitor: Watch for active bubbling in the sanitation bucket. This indicates CO2 is escaping and fermentation is progressing.
Blow-Off Tube vs. Airlock: Which to Use?
The choice between a blow-off tube and an airlock depends primarily on the vigor of your fermentation and the available headspace in your fermenter. For the initial, most active phase of fermentation, especially with high-gravity worts, fruit additions, or smaller headspace, a blow-off tube is the superior choice. It provides a larger path for krausen and gas, preventing clogs and messes.
Once primary fermentation subsides and krausen drops, an airlock often becomes sufficient. Airlocks are compact and can be useful for secondary fermentation or lagering, where CO2 production is minimal and krausen is no longer a concern. Many brewers start with a blow-off tube for the first week and then switch to an airlock for the remainder of fermentation. This combination offers the best of both worlds, managing initial vigor while providing a more compact solution for quieter phases.
Common Blow-Off Tube Sizes and Materials
The effectiveness of your blow-off tube system depends on selecting the correct size and material.
Tubing Diameter
The most common inner diameters for blow-off tubing are 1/2 inch (12.7 mm), 5/8 inch (15.9 mm), and 1 inch (25.4 mm). Larger diameters are generally preferred for extremely vigorous fermentations or when fermenting in vessels with minimal headspace, such as a full glass carboy. A 1/2 inch ID tube is usually adequate for standard 5-gallon beer batches with sufficient headspace.
Tubing Material
- Food-Grade Vinyl: This is the most common and cost effective option. Vinyl tubing is clear, allowing you to see krausen and CO2 activity. It is flexible but can stiffen over time and may absorb odors if not cleaned quickly.
- Silicone: More expensive than vinyl, but silicone tubing offers superior flexibility, durability, and heat resistance. It is less prone to kinking and remains supple over many uses. Silicone is also less likely to absorb odors or flavors.
Stopper/Bung Sizes
Matching the stopper to your fermenter's opening is critical for an airtight seal. Stoppers are typically numbered. For example, a #6.5 stopper often fits a 5-gallon glass carboy, while a #10 stopper is common for 6.5-gallon carboys. Make sure the stopper's drilled hole perfectly accommodates your chosen tubing diameter for a snug fit. Many homebrew starter kits include appropriate stoppers and airlocks, but you may need to purchase a wider drilled stopper for a dedicated blow-off tube.
Cleaning and Storing Your Blow-Off Tube
After fermentation, immediately clean your blow-off tube. Krausen and yeast residue can dry and harden, making cleaning difficult. Rinse the tube thoroughly with hot water. A small brush designed for tubing can help remove stubborn deposits. Follow with a sanitizing rinse. Store the clean, dry tube away from direct sunlight to prevent degradation, especially for vinyl tubing.
Troubleshooting Common Blow-Off Tube Issues
Slow or No Bubbling
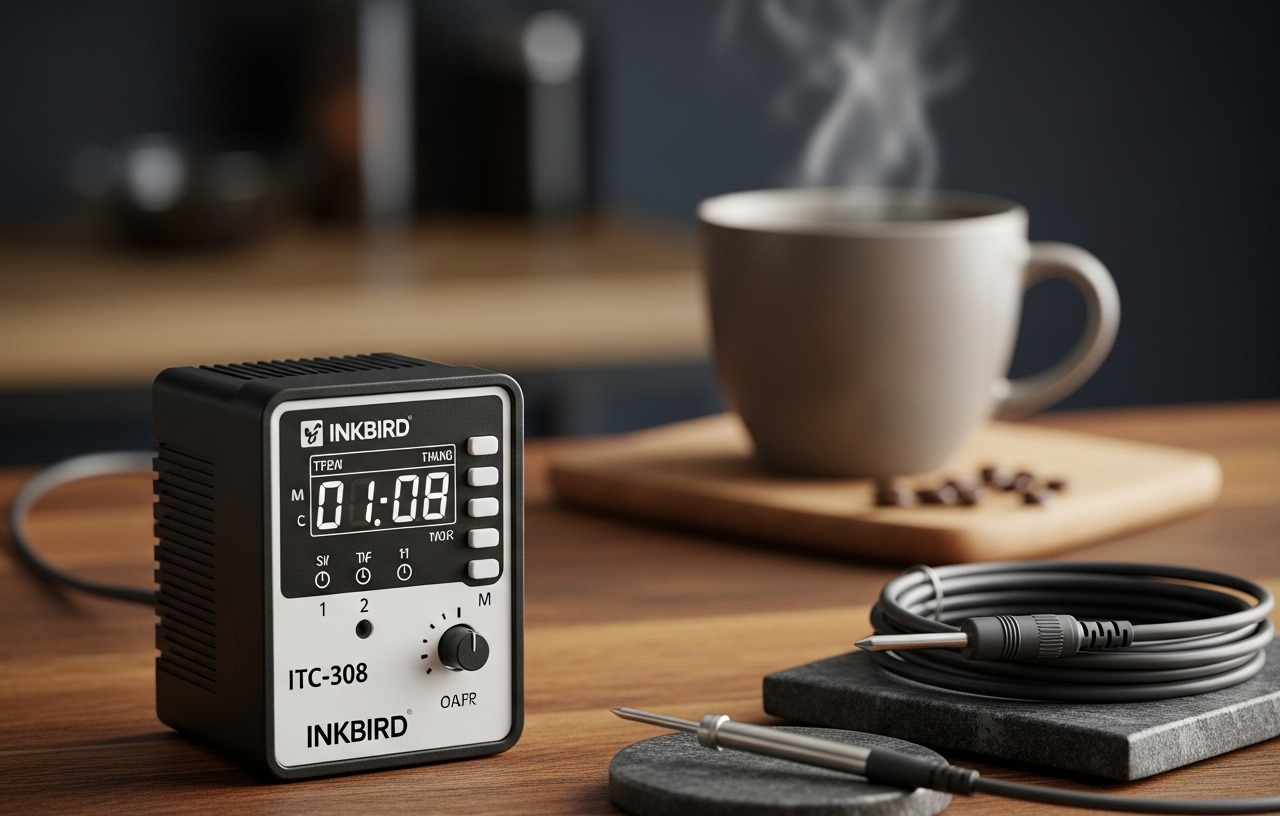
If you do not see consistent bubbling in your sanitation bucket, first check the seal around your fermenter's stopper. A loose stopper is the most common cause of leaks. Also, check for kinks in the tubing. Sometimes, fermentation slows down naturally after the most vigorous phase, leading to less frequent bubbling. Verify the temperature of your fermenter with a fermentation temperature controller. Temperatures outside the yeast's optimal range can inhibit activity.
Krausen Still Clogging the Tube
Even with a blow-off tube, extremely vigorous fermentations can sometimes produce so much krausen that it partially clogs the tubing. If this happens, gently agitate the fermenter to dislodge the krausen, or carefully remove and clean the tube, then re-sanitize and re-insert. Consider switching to a larger diameter tube for future batches if this is a recurring issue, or ensure you have more headspace in your fermenter.
Siphoning Effect
If the end of your blow-off tube is submerged too deeply in the sanitizer, or if there is a sudden drop in ambient temperature, a siphoning effect can occur, drawing the sanitizing solution back into your fermenter. To prevent this, make sure the submerged end is only 1-2 inches deep. If you anticipate temperature fluctuations, consider using a non-toxic sanitizer like Star San in the bucket, as it is generally food-safe in small quantities.
Cost Considerations
The components for a blow-off tube system are very affordable. A few feet of food-grade vinyl tubing typically costs between $5 and $10. A drilled rubber stopper or bung will generally cost $3 to $7. A basic food-grade bucket can be found for $5 to $15. Overall, setting up a blow-off tube system is an inexpensive investment that offers significant protection for your brew and your brewing space.