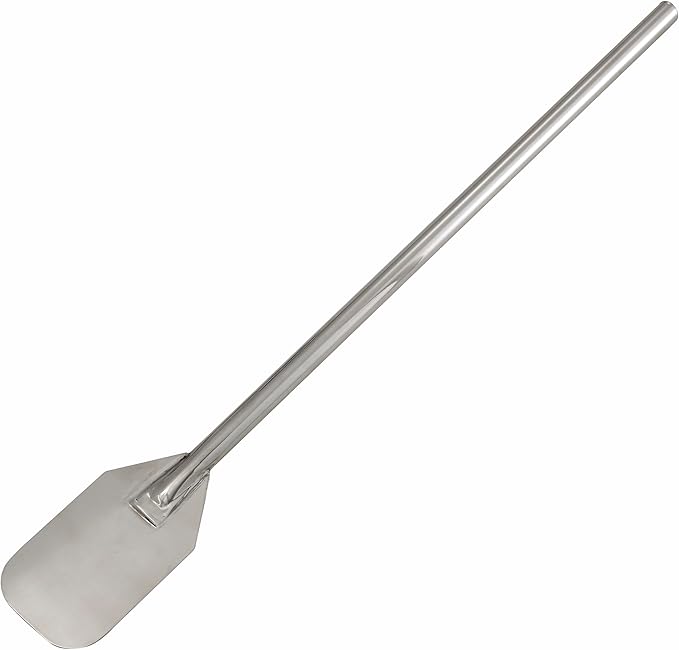
Winco Stainless Steel Mixing Paddle 36"
- heavy duty to Made from commercial-grade stainless steel designed to withstand daily use in restaurants.
- Reinforced Handle to High-strength handle won’t bend or break when stirring large stock pots or vats
- Contoured Edges to Specially designed edges contour the inside of a pot gently scraping the sides for even.
- 36” Long Handle
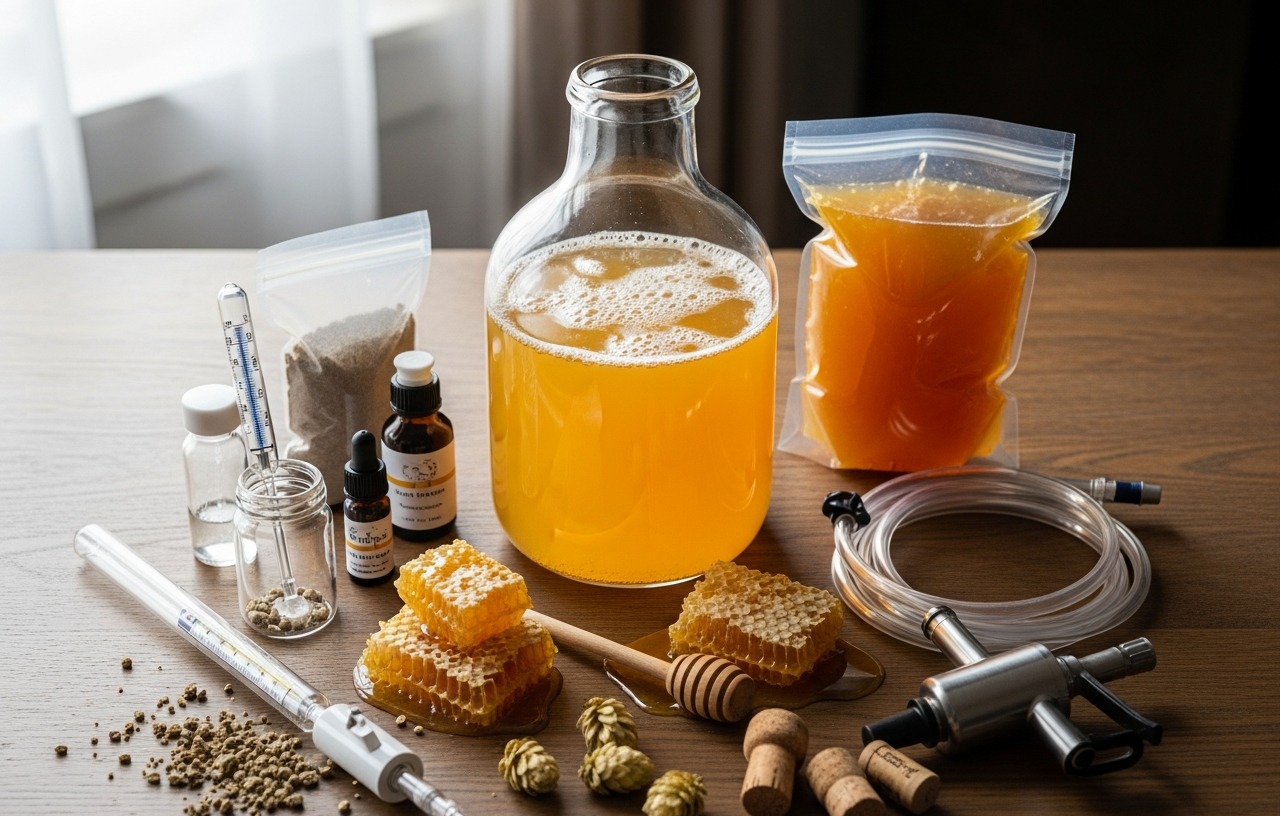
Fizzy, cloudy, or harsh-tasting homemade wine often has one common problem: dissolved carbon dioxide. This gas, a natural byproduct of fermentation, remains suspended in the wine even after yeast activity stops. Properly degassing your wine removes this CO2, leading to a more stable, clearer, and better-tasting final product. Degassing is a vital step before bottling, preventing potential bottle bombs and making sure your hard work yields a professional-quality drink.
Why Degas Your Homemade Wine?
Degassing is not merely an optional step. It significantly impacts the final quality of your wine. Ignoring this process can lead to several undesirable outcomes.
- Improved Clarity: Dissolved carbon dioxide bubbles can cling to yeast cells, pectin haze, and fining agents. This prevents them from settling out of suspension, leaving your wine cloudy or hazy. Removing the CO2 allows these particles to drop, resulting in a brilliantly clear wine.
- Enhanced Taste and Aroma: Excess CO2 can create a harsh, acidic, or "spritzy" sensation on the palate, even in still wines. It can also mask the delicate fruit flavors and aromatic complexities you worked hard to develop. Degassing allows the true character of your wine to shine through, offering a smoother and more enjoyable drinking experience.
- Better Stability: Trapped CO2 can interfere with the effectiveness of fining agents and stabilizers, making them less efficient at their job. This can lead to persistent haziness or an unstable product. If bottled with significant dissolved gas, this pressure can build inside the bottle, potentially forcing corks out or, in extreme cases, causing bottles to rupture. Degassing eliminates this risk, making your bottling process safer and your stored wine more secure.
When is the Right Time to Degas Wine?
Timing is important when degassing. Performing this step at the wrong point can be ineffective or even detrimental to your wine.
- After Fermentation is Complete: Make sure primary and secondary fermentation have fully finished. This means your hydrometer readings should be stable and consistent over several days, indicating that the yeast has consumed all fermentable sugars. Degassing while yeast is still active can restart fermentation or introduce oxygen, which is harmful.
- Before Fining or Stabilizing: Degas your wine before adding any fining agents (like bentonite or Isinglass) or chemical stabilizers (like potassium metabisulfite and potassium sorbate). Removing the CO2 first allows these agents to work more effectively, as they won't be hindered by gas bubbles.
- Before Bottling: Always degas before bottling. This prevents pressure buildup in the bottles and ensures your wine will be still, unless you intend to make a sparkling wine.
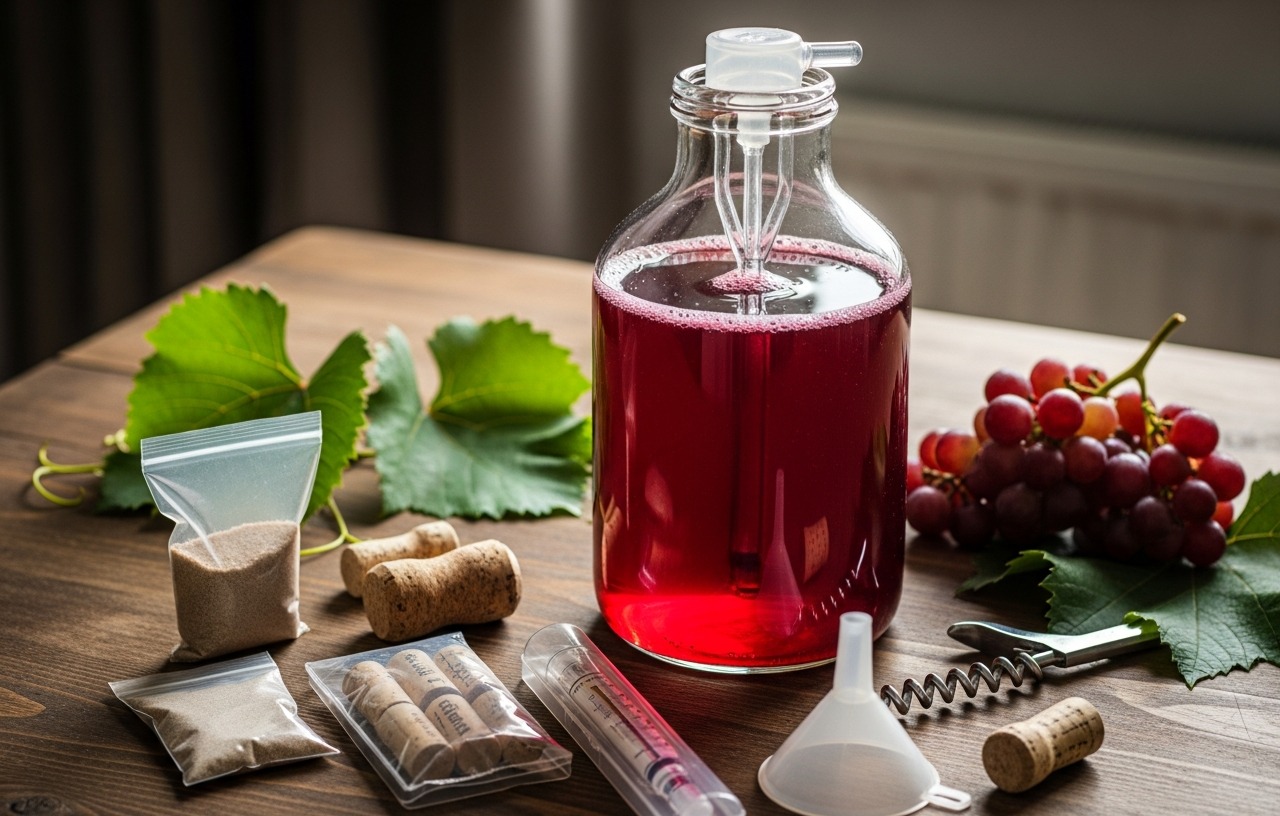
Methods for Degassing Homemade Wine
Several effective methods exist for removing dissolved carbon dioxide from your wine. The best choice depends on your equipment, batch size, and patience level.
Method 1: Manual Stirring
This is the most common and cost effective method, requiring minimal specialized equipment. It is well-suited for smaller batches or those without power tools.
Time Estimate
Expect to spend 1-2 hours of active work, spread over a few days for optimal results.
Tools and Materials
- Sanitized fermentation vessel (carboy or food-grade bucket)
- Long-handled, sanitized stirring tool (e.g., Winco Stainless Steel Mixing Paddle 36")
step by step Process
- Sanitize Everything: Thoroughly sanitize your stirring tool and any other equipment that will come into contact with the wine. Proper sanitation prevents contamination and off-flavors.
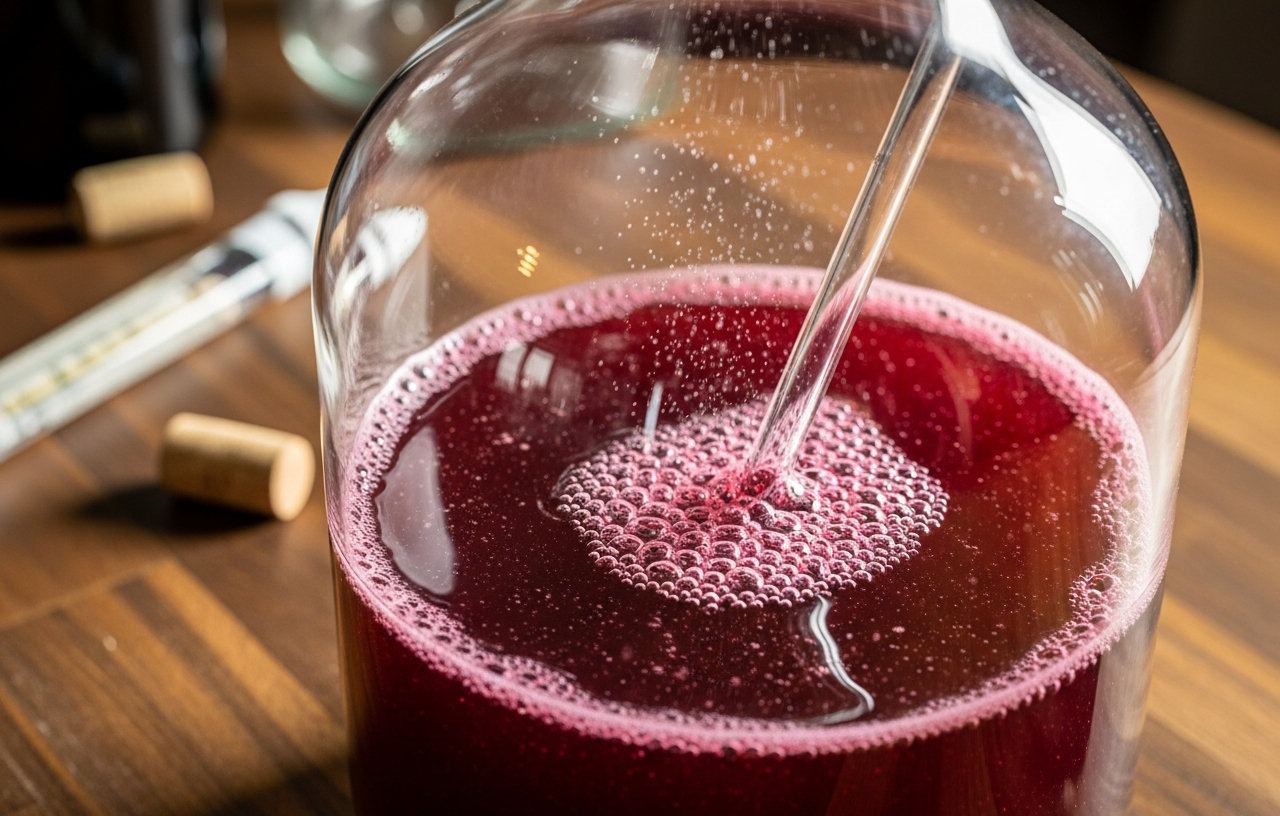
- Stir Vigorously in One Direction: Insert the sanitized stirring tool into the wine. Stir in one direction for several minutes, creating a noticeable vortex. You will observe a significant amount of bubbles rising to the surface as the CO2 escapes from the liquid.
- Reverse Direction: After a few minutes, change your stirring direction and continue to stir vigorously for several more minutes. This helps release trapped gas from all parts of the liquid and prevents the wine from simply spinning without much agitation.
- Rest and Repeat: Cover the fermentation vessel with an airlock or lid and let the wine rest for 15-30 minutes. During this period, any remaining CO2 will continue to come out of solution and rise to the surface.
- Repeat Cycles: Repeat the stirring and resting cycle 3-5 times over a period of 1-3 days. The amount of bubbles released will visibly decrease with each subsequent cycle, indicating that less CO2 remains in the wine.
For larger batches, a robust stirring tool makes a significant difference. The Winco Stainless Steel Mixing Paddle 36" is an excellent choice. Made from commercial-grade stainless steel, it is designed to withstand daily use in restaurants. Its reinforced handle won’t bend or break when stirring large stock pots or vats. The contoured edges gently scrape the inside of a pot, or in this case, your fermenter, ensuring even mixing and degassing.
Safety Considerations
Avoid excessive splashing during stirring. Splashing introduces oxygen into the wine, which can lead to oxidation and undesirable sherry-like off-flavors. Keep your stirring tool sanitized throughout the entire process to prevent microbial contamination.
Method 2: Using a Degassing Wand (Drill Attachment)
This method is faster and more efficient than manual stirring, making it popular among home winemakers with larger batches or those seeking quicker results.
Time Estimate
The active work for this method typically takes 15-30 minutes.
Tools and Materials
- Sanitized fermentation vessel
- Degassing wand (often called a wine degasser) designed to attach to a drill
- Cordless drill
step by step Process
- Sanitize Equipment: Clean and thoroughly sanitize the degassing wand and the fermentation vessel.
- Attach Wand to Drill: Securely attach the degassing wand to your cordless drill. Make sure it is centered and tightened to prevent wobbling.
- Insert and Start Slowly: Carefully insert the wand into the wine. Make sure the paddle end is fully submerged and does not touch the bottom or sides of the vessel. Start the drill on a very low speed, gradually increasing it.
- Gentle Agitation: Move the wand up and down slightly within the wine. Avoid creating a large, violent vortex that sucks air into the wine. You will observe a significant amount of foaming as the dissolved CO2 rapidly escapes.
- Continue Until Flat: Continue this process for 5-10 minutes. The wine should appear noticeably flatter, with fewer bubbles rising from the liquid. The foam on top will also subside.
- Rest and Check: Turn off the drill and remove the wand. Let the wine rest for a few minutes. If more bubbles continue to appear, repeat the process for another 5 minutes until virtually no more gas is released.
Safety Considerations
Always wear eye protection when using power tools. Do not run the drill at excessively high speeds, as this can whip air into the wine, causing oxidation. Keep the wand fully submerged to prevent splashing and unnecessary oxygen exposure.
Method 3: Vacuum Degassing
Vacuum degassing is considered the most efficient method for removing CO2, often yielding the best results in terms of clarity and flavor. It requires a more specialized setup.
Time Estimate
This method typically takes 30-60 minutes of active attention.
Tools and Materials
- Sanitized fermentation vessel (a glass carboy is highly recommended for vacuum, or food-grade plastic fermenters specifically rated for vacuum use)
- Vacuum pump designed for wine (often sold as a kit with a special lid and stopper)
- Vacuum gauge (optional, but helpful for monitoring pressure)
step by step Process
- Sanitize All Components: Make sure the carboy and all parts of the vacuum equipment (stopper, tubing, pump) are thoroughly sanitized before use.
- Seal the Carboy: Place the special vacuum stopper designed for winemaking securely onto the neck of the carboy. Connect the tubing from the vacuum pump to the port on the stopper.
- Apply Vacuum: Turn on the vacuum pump. It will begin to draw air out of the headspace above the wine, reducing the atmospheric pressure. This lower pressure makes it much easier for dissolved CO2 to come out of solution.
- Monitor Foaming: Watch the wine carefully. You will see bubbles rising vigorously from the liquid. The wine level may rise significantly due to the foam. Do not let the foam reach the vacuum pump. If it gets too high, release the vacuum for a moment and restart.
- Release and Repeat: Once the foaming subsides and fewer bubbles are rising, turn off the pump and slowly release the vacuum. This allows the wine to settle. Repeat the process of applying and releasing vacuum several times over 30-60 minutes until no more significant bubbling occurs when the vacuum is applied.
Safety Considerations
Only use glass carboys specifically designed for vacuum use, or food-grade plastic fermenters explicitly rated for vacuum. Thin-walled glass or standard plastic buckets can implode or collapse under vacuum, creating a dangerous situation and a significant mess. Do not exceed the vacuum levels recommended by your equipment manufacturer.
Cost Considerations
A basic vacuum pump setup for winemaking can cost anywhere from $100-$300. Swirl it gently and observe. If you still see tiny bubbles clinging to the sides of the glass or slowly rising to the surface, more degassing is likely needed. Properly degassed wine should appear still and clear.
Common Mistakes to Avoid During Degassing
Avoiding these common pitfalls will help you achieve the best results.
- Degassing Too Early: Make absolutely sure that fermentation has completely finished. Degassing an active fermentation can stress the yeast, introduce unwanted oxygen, and prove ineffective as more CO2 is produced.
- Excessive Oxygen Exposure: While agitating to release CO2, it is easy to inadvertently introduce too much oxygen. Excessive splashing or whipping the wine can lead to oxidation, which degrades flavor and aroma. Be gentle, especially with methods involving stirring or a drill attachment.
- Incomplete Degassing: Rushing the process or not repeating cycles can leave residual CO2. This results in cloudy wine, off-flavors, and the risk of bottle bombs. Patience is a virtue in winemaking.
- Using Unsanitized Equipment: Every piece of equipment that touches your wine must be thoroughly sanitized. Neglecting this step introduces spoilage organisms that can ruin your entire batch. For those just starting, exploring beginner wine making kits often includes guidance on sanitation.
Final Thoughts on Degassing
Degassing is a critical step for producing high quality homemade wine. It clarifies the wine, refines its taste, and makes sure safe bottling. By choosing the right method and following the steps carefully, you can enjoy a superior finished product. For new brewers, understanding the fundamentals of fermentation and equipment is key. Consider reviewing articles like Best Fermentation Vessels for Beer: Glass Options Reviewed, as many principles apply to wine as well. Taking the time to properly degas your wine will elevate your winemaking efforts, turning a good batch into a truly exceptional one.
Winco Stainless Steel Mixing Paddle 36"
- heavy duty to Made from commercial-grade stainless steel designed to withstand daily use in restaurants.
- Reinforced Handle to High-strength handle won’t bend or break when stirring large stock pots or vats
- Contoured Edges to Specially designed edges contour the inside of a pot gently scraping the sides for even.
- 36” Long Handle